🔑 Keycloak#
Warning
This node is still in a testing phase and could change in future updates.
We are always open to your feedback or ideas, please contact us by email: bot@olvid.io or open an issue on GitHub.
Installation#
Unlike the Olvid node, this node does not require the installation of a daemon, which greatly simplifies its setup.
However, it requires the use of an Olvid directory whose deployment far exceeds the scope of this document. Visit 👉️ here 👈️ to learn more about this feature, or contact us for further information: contact@olvid.io.
Install N8N#
If you wish for your flows to send Olvid messages, we recommend following this installation procedure and then returning to configure the Keycloak node. Otherwise, you can follow the official documentation
Install community node#
Once your n8n instance is installed and configured, install our community node n8n-nodes-olvid-keycloak. The procedure is available in the n8n documentation: installing a community node
Configure credentials#
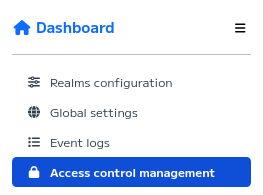
To connect to your directory, your node will need a manager account. To create it, go to your management console, in the Access Control Management tab.
Hint
If the Access Control Management option is not visible, either you do not have permission to see it (your role is not administrator), or you have not configured an administrator realm. In this case, the configuration procedure is available here.
Click on create a new manager.

Fill out the form according to your preferences. The important fields are the
usernameandrolefields. The role determines the permissions granted to your bot.
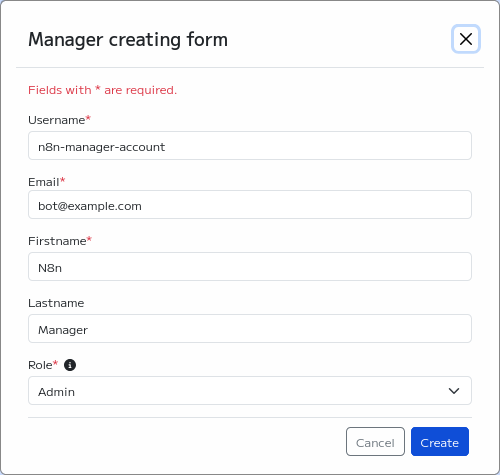
Note the username used and the displayed password.
In the n8n interface, create a new workflow and add any OlvidKeycloak node.
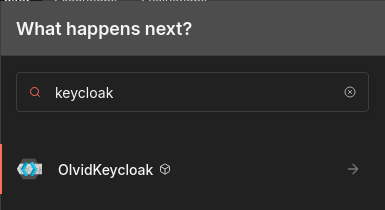
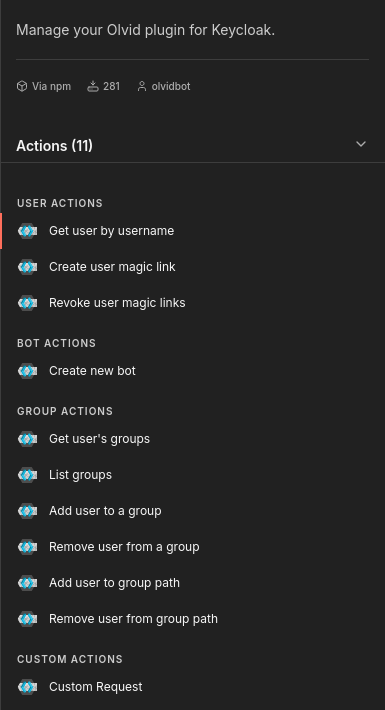
Select any action.
Create new credentials for this node.

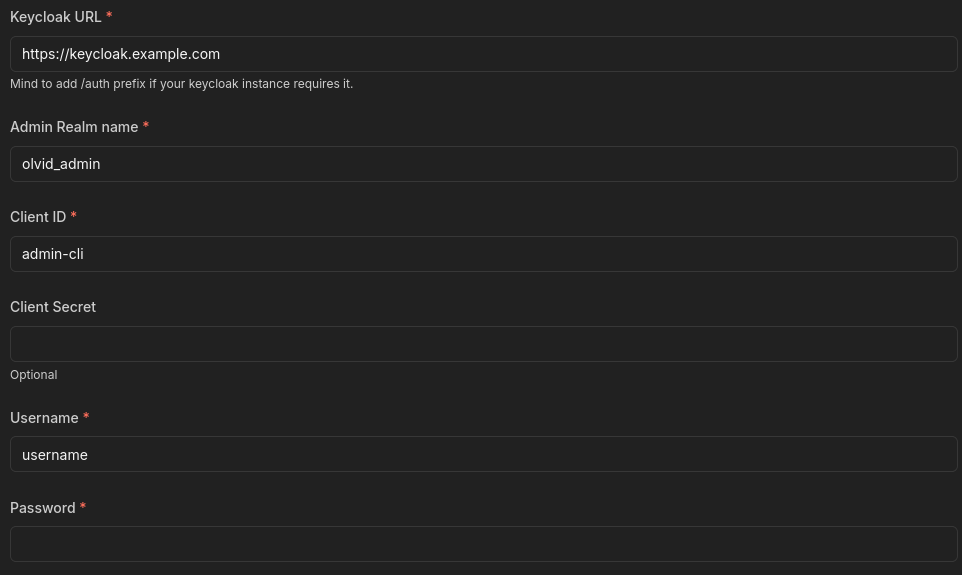
Fill out the form.
Keycloak URL: The access URL to your Keycloak instance. (⚠️ Mind the
/auth/suffix if your Keycloak instance uses it)Admin Realm name: the name of your admin realm (the Red Realm in the Domain Configuration tab of the console).
Client ID: you can use the default admin-cli client, or create a new client that manages offline tokens in Keycloak.which manages offline tokens.
Client Secret: (optional) leave blank by default, to be filled if you have created your own client and it requires it.
Username and Password: the credentials of the account created earlier.
You can now run your Keycloak Olvid node and integrate it into your workflows!
Usage#
Examples#
Ideas for workflows are available in our section.
Custom actions#
The OlvidKeycloak node does not implement all the possibilities of the Olvid console, but technically it can perform any action that can be done in the console (if the role of the associated account allows it).
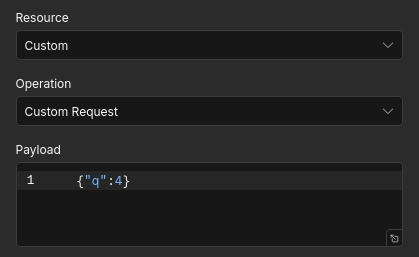
To extend the current capabilities of the node, you can use the Custom Request action of the Olvid Keyclak node.
When you are in your Olvid administration console, open the developer console of your browser, on the Network tab. Perform the action you want to reproduce, and copy the content of the JSON request at the entry point configuration.
You just need to paste this request in the payload field of the Custom Request action. You can then run it, edit it and integrate it into your workflows as desired.